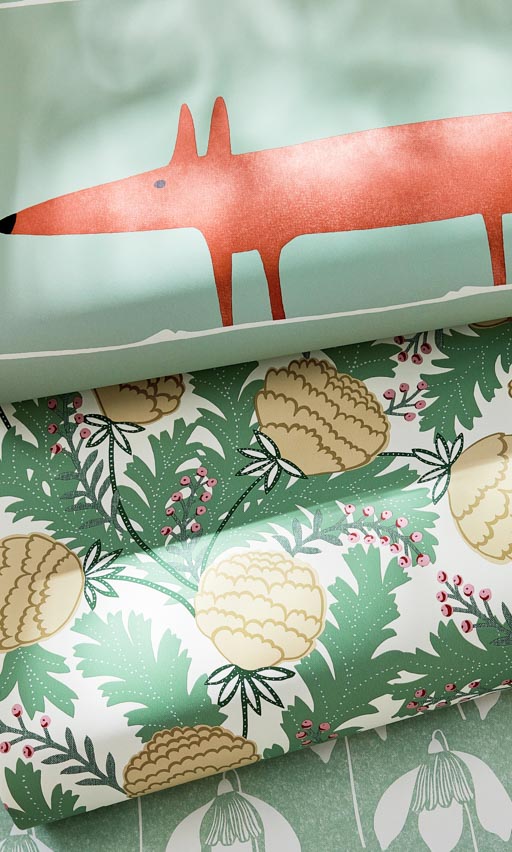
Wallpapering toolkit. You will need:
- Wallpaper
- Flat surface (a wallpaper table is ideal, but if not a large kitchen counter or dining room table will work just fine)
- Wallpaper brush
- Wallpaper paste
- Scissors
- Taping knife
- Roller
- Spirit level
- Pencil and Stanley knife
- Tape measure
- Sponge
Step one:
Preparation is key
Preparation is super important for creating a beautiful finish, so don’t skip this part. Start off by clearing your work space, moving any furniture away from the walls and covering valuable items with dust sheets. If painting is in your project plan, now is the time! You don’t want accidental splatters of paint landing on your new wallpaper! Smooth walls provide the best base, so before you start papering, fill in any holes and remove old wallpaper.
Prep your walls by giving them a quick coat of paste with the roller. This will ensure your wall is a good texture for your paper to stick to.
Step two:
Measuring
Before getting busy with the tape measure, it’s a good idea to check your room is level. Spirit levels are best, but if you don’t have one to hand, we’d suggest measuring the height of your room in a few different places.
Once the walls are dry, measure the width of the wallpaper and mark it on the wall. Use a spirit level to extend the mark to create a straight line, this is to ensure your wallpaper is straight on the wall!
Measure the height of your wall, starting at the top corner, then add 5cms to the total length. We recommend measuring a few times to make sure you’ve got things right.
Step three:
Going for the chop
Unroll your wallpaper on a flat surface – you might need something to hold down the corners. Next, us your measurements from step one to mark the height of the wall on your paper, score the edge and use a pencil to mark the length. Remember to add the extra 5cms as mentioned above. Now use scissors to cut along the scored line.
Step four:
Time to paste
Some of our wallpapers require you to paste the paper, so please check before you start. Now the fun begins! Use the roller to apply a thin layer of paste to the wall or the paper, depending on the instructions on the wallpaper label.
Fold the wallpaper back on itself to help move the wallpaper once you have pasted it.
Step five:
Get sticking
Position the paper against the edge of your wall and press gently to the pasted surface, continuing for the full length of the paper. If things look a little wonky, don’t panic! As the paste is still damp, gently manoeuvre the paper, so it’s straight.
Step six:
Time to commit
Using a clean, dry brush, gently sweep across the entire surface of the paper to ensure its firmly in position, removing any lumps, bumps and bubbles as you go, so that your surface is as smooth as possible and the pattern matches up.
Step seven:
Time for a trim
Use your Taping Knife to mark where the wallpaper needs to end and score with a Stanley knife to trim back any excess paper from the top and bottom of the wall.
Step eight:
A quick tidy up
Grab a clean damp cloth and wipe away any excess paste marks that have made their way onto the paper.
Step nine:
Repeat
Well done for completing your first drop – now to finish the job. Repeat each step until your room is covered from head to toe in Scion’s iconic prints. Some patterns can be a little bit tricky to match, so take your time and make sure everything is lined up correctly. This could mean that there’s excess paper at the top of the wall, if this happens, use your Stanley knife to trim accordingly.
Remember to add an extra 5cms to your measurements (as mentioned in step one) so that there’s wriggle room in the length.
Looking good
We’d love to see your transformed walls, so style away, then share your finished looks with us using #scion_living
Head over to the Scion wallpaper page and browse through our huge range of designs.
When something catches your eye, it’s a good idea to order a sample, just to make sure the colours and textures are right for your scheme.
Then, once you’ve chosen your favourite design, use our handy wallpaper calculator to work out how many rolls you need to complete your project.
If you have any questions, please contact our customer service team who will be more than happy to help.
